Not long ago I posted the final pictures of the wrecked BMW model. I was downloading pictures off of a camera and found some photographs from the process and decided to share them. Look out for more projects to be posted soon.
To get the effect of shattered auto glass I took an X-Acto knife and slashed the inside into a fractal pattern. Then I lightly sanded the outside with rough grit sandpaper to cap off the effect.
The windshield would not fit into the cock-eyed frame anymore so instead I took a Dremel tool with a grinding attachment. The effect worked better than I thought it would. Here you can also see the rubbed paint effect.
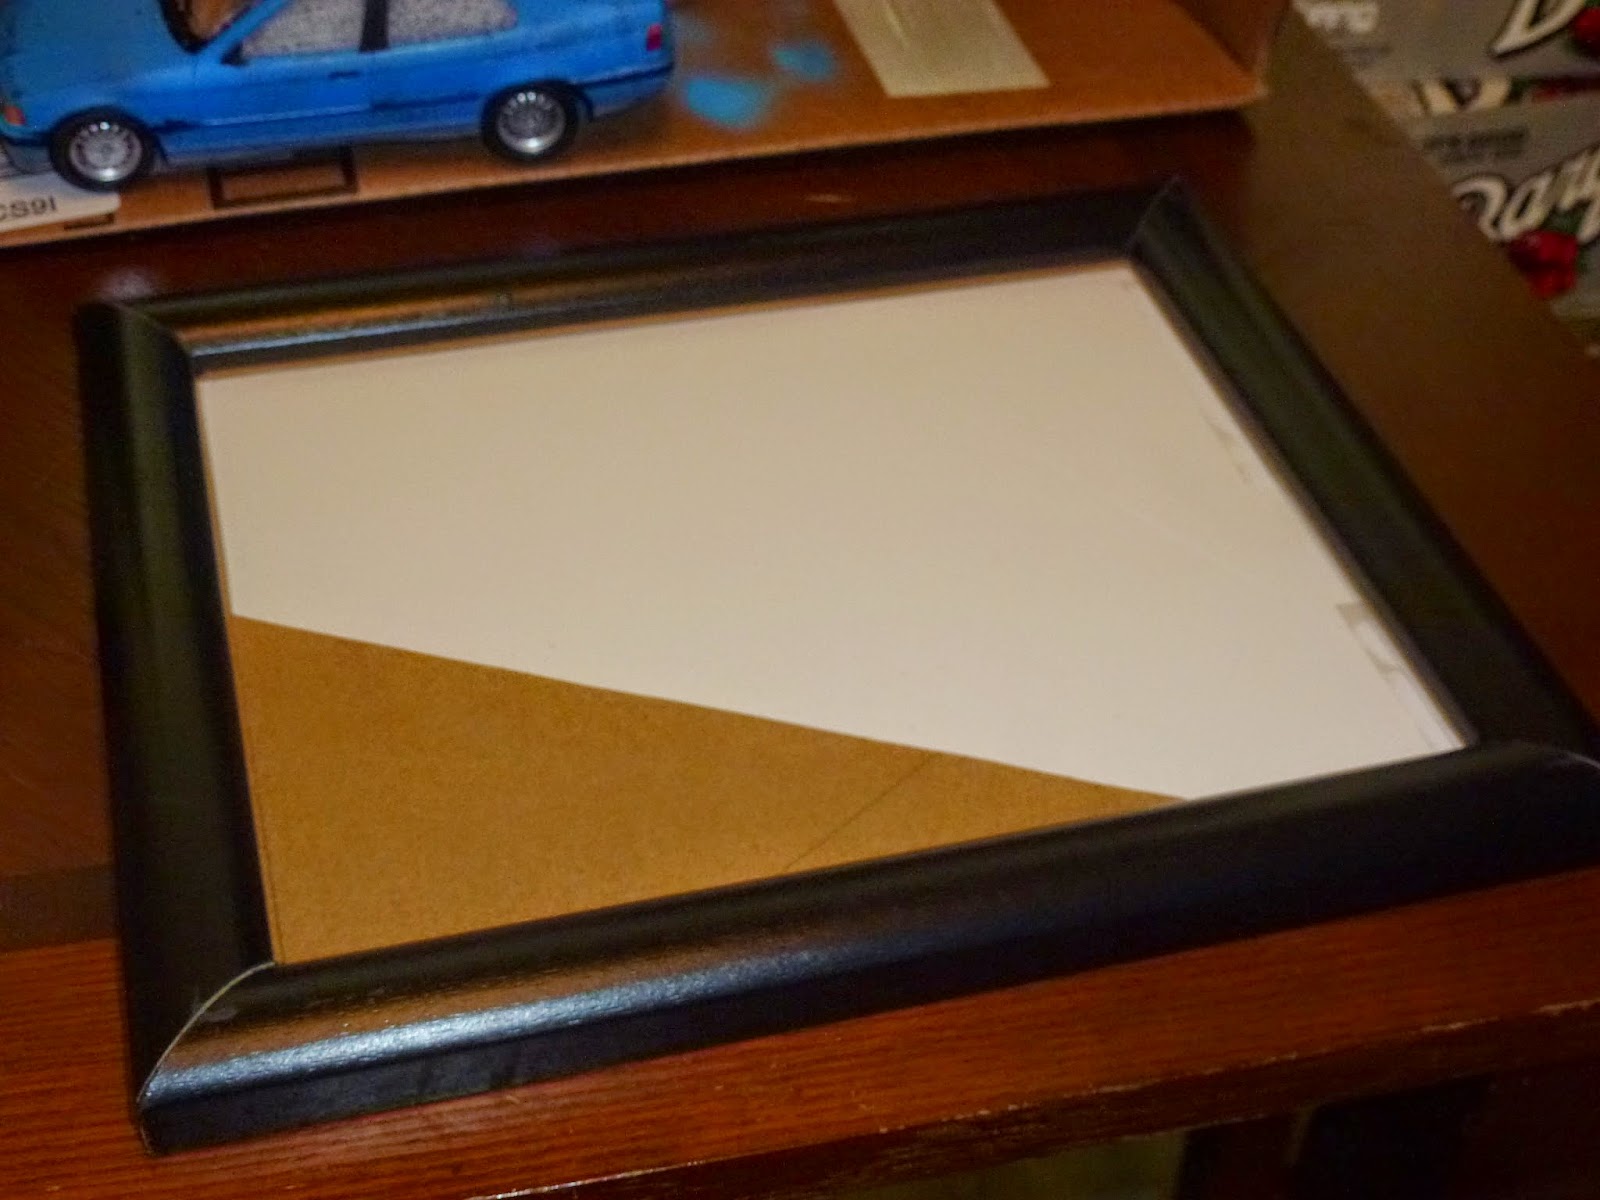
To make the base I used foam core board cut to fit into the picture frame then cut cardboard to elevate the asphalt portion. A band of cardboard was left just under the frame to keep a good fit.
I got the picture frame from Goodwill for 99 cents and used it as is.
I spread Elmers glue over the grass area and shook Woodland Scenics blended turf onto the glue. After that dried I airbrushed the bare spots brown then shaded the grass with varying shades of green.
The finished display base waiting for a car. The asphalt for the road was made in a similar manner as the grass except I used sand instead. It was then painted black with a simple white stripe. In order to secure the car to the base I punched two holes in the foam core and ran a twist tie over the axle then through the holes. And there is a simple way to make a great display base for your next car model.


No comments:
Post a Comment