The Ferrari F2001 Formula 1 car is finally finished. This project
took much longer than it should have because of the Ferrari red paint
dying half way through. A replacement bottle was purchased from
Amazon and took a few days to get in; by then finals had arrived and
the holidays soon after. I got a chance right after Christmas to
finish it up and have a quick photo session. The final parts count
was 129 including the rubber tires. Overall there were no fitment
issues, even the most curved and warped body panels fit as they were
intended and I didn't find any mis-shapen pieces. The suspension
pieces are quite delicate but the model has two clear discs that
attach underneath the solid under-tray. The weight of the car rests
on these instead of the tires, thus saving the suspension from
sagging. The decals were a bit finicky, they were some of the most
delicate I have ever used. Some of the decals have to be done in a
certain order, such as the FedEx logos which are placed on top of a
white box included in another decal. I didn't catch this the first
time and the main FedEx logos are out of place by a little. Two of
the larger decals, white blocks for the spoiler, broke apart before I
got the hang of it and I had to paint instead. On the whole I am
very pleased with the detail of this kit but it is a Tamiya model so
I had high expectations. I plan to continue with the history of
Formula 1 series and build the Tamiya Lotus 25 Coventry Climax next,
Stay posted for the start of that project soon. Other updates are
that I re-started work on the map I was drawing and I have almost
finished pulling everything together to set up a knife forge. Expect
some exciting updates for the new year along with a few look backs to
old projects.
Thursday, January 2, 2014
Saturday, December 28, 2013
Christmas drawing
Hello every one, it is so nice to be back from 'most' of the holidays. Of course there is still new years to go but maybe I can get some new posts on here. I have finished the F1 car at last so look forward to a full write up on it shortly. This is a quick holiday blurb to show a mini project. On Christmas eve I was given a piece of paper and told to "draw a name card" for my cousins gift, who likes to hunt. They asked, they received. Happy Holidays everybody!!
Tuesday, December 10, 2013
Monogram letter update
A brief update on the wooden monogram pictures I am building for my friend's Christmas presents. I am trying to make each one unique and in that quest decided to make my room mates letter with an Elven pattern, so I sat down with masking tape, an Exacto knife and a Sharpie to replicate the design I found online. I started watching Captain America and by the end of the Avengers I was finished, this was a long process. By cutting around the pattern and removing the "field" and coloring over the exposed wood I made a negative of the pattern. I then went in with a detail pen to draw the lines that make the overlapping effect. And finally, placed it in its frame, there may be some work given to the blue background later. More about the other letters to come.
Saturday, November 23, 2013
Horten Ho229
I knew that Revell Monogram had a splinter company called Revell of Germany for a few years but what I never considered was that Revell of Germany would have different kits than the American company. I was researching other kits on Amazon and I came across a bunch of kits by Revell of Germany, needless to say several of them ended up on my Amazon wish list. This kit, the Horten flying wing, was a kit I had seen built years ago but never found it. I went ahead and bought it to round out an order to get free shipping. This is the first airplane I have built with the intention of airbrushing it, I'm getting more adventurous since my recent success.
I started by joining wing halves then spraying all the external parts a base aircraft grey, this will act as both primer and camouflage color for the final paint scheme. Next I assembled the cockpit in the "fuselage" half, there wasn't much to do there and the canopy will obscure most of it but still a place for detailing. There are still some internal things to put together before the body halves go together but an initial test fit works well.
Sunday, November 10, 2013
Playing with my airbrush
In the new hiatus from the F2001 (which I erroneously referred to as the F2000 last time, sorry) I have pulled out an old project. This Millennium Falcon model is an old MPC Ertle kit from '96. I built it not long after it came out but as a kid i put lots of love into it but not much skill. It was left in storage for years and got pulled out and taken apart a couple of years ago. It sat in a box until this week when I decided to throw some of my new-found airbrush techniques at it. This will therefor end up being one big experiment. First thing up was a light grey overspray to cover the old paint job next up the iconic weathering from the movie.
Sunday, November 3, 2013
Engine instal
I've owned my airbrush for almost a year now and I have played with it some but I have not had consistent results. I had seen on that great warehouse of ideas, YouTube, how to "heat color" exhaust tips and decided to try the technique on the F2000 model. My logic was "if I mess it up all I have to do is paint it silver again and the mistake is gone." I started with an assembled and painted exhaust system and masked off the pipes up to the junction point. The first color I sprayed on was a light yellow, it went high up the pipe. Next went a pearl red that had to be cut with water, it went 2/3 as far as the yellow. Finally went on a metallic blue that also had to be cut with water and it was concentrated around the tip but went up as far as the yellow. The last two colors are made by Createx. After the colors dried I pulled of the tape and dabbed matte black inside the pipes. I am very pleased with the outcome and installed them on the engine which is now mounted to the car. And as my Humbrol gloss 19 is dead, I will have to stop until I get more in. Momentum = dead.
Pictures in order:
1) masked and ready to paint
2) left with yellow and red, right in the process of blue
3) finished with all three colors
The pipes on the engine
Where the F2000 will have to wait till I get more paint. Looks good though.
Saturday, November 2, 2013
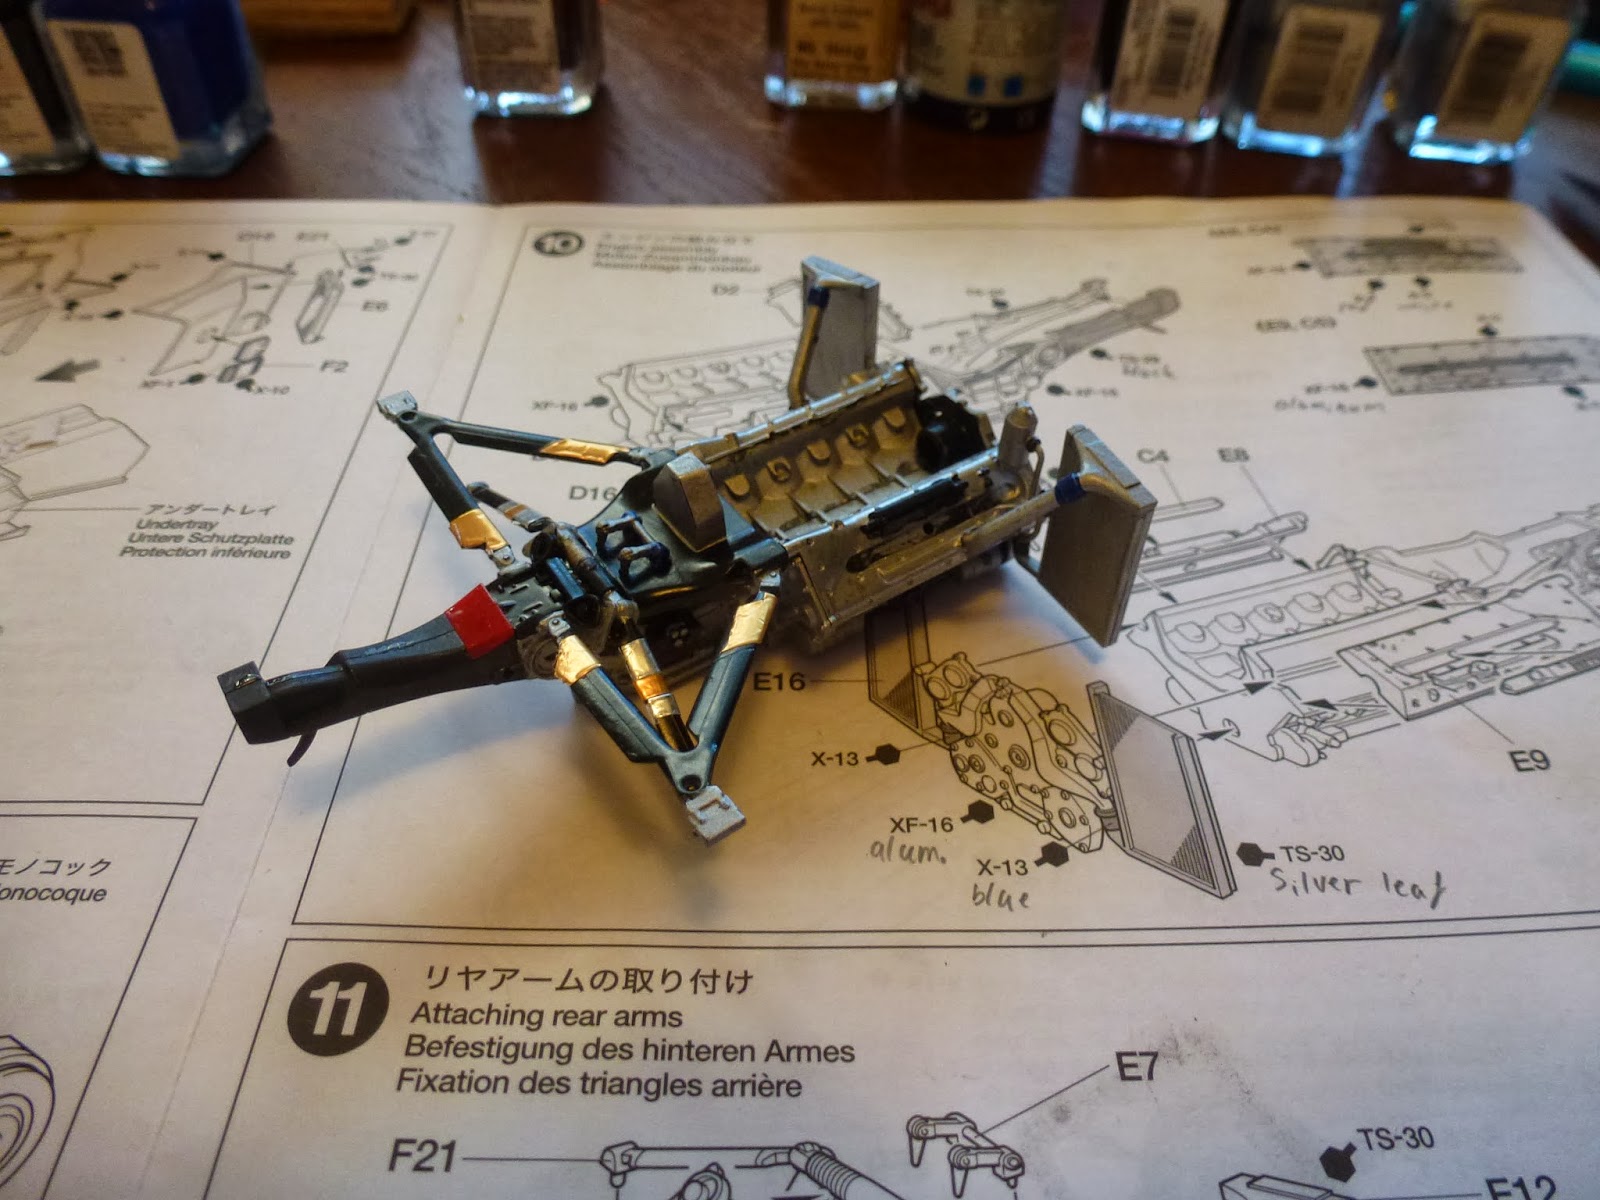
F1 engine
Great news! I'm back to building the F1 car. After a long sabbatical to get squared away in school again I set up the work table and pulled out the model. As of now I have assembled the front suspension and gotten the front portion of the car mounted to the under-chassis. I am in the process of assembling the engine and rear suspension now. However I may hit another wall, the 8 year old Ferrari Red paint I have been using is dying. It has become so thick its like spreading silly putty, I may have to delay until I get some more off line. (It is Humbrol gloss #19 from England). This paint has served me so well though, I believe I have used it in nearly a dozen models including painting 4 full cars with it.
Subscribe to:
Posts (Atom)