Monday, July 30, 2018

Project Biashara

Well, let me talk about one of my new hobbies that is sort of a sub-set of another hobby: designing board games.  I always have an idea or 3 swirling around in my brain and sometimes I try to make them coalesce into an actual game.  I've finished several prototypes but nothing has gone far.  Usually my fast prototypes look pretty bland since I use Autodesk AutoCAD to make them.  But, for one of my projects, I like the idea so much I decided to start with trying to make actual drawings.  To do this I downloaded an image of what I wanted to draw onto my phone and, using a stylus, overdrew the image onto a transparent layer to get a rough line sketch.  I put it into Photoshop to fix my line work and digitally inked them, using different colors sometimes for different type pieces (different companies).  The game is an economic engine based around the Tanzanian economy, it is called Biashara (Swahili for commerce).  Players take control of a company that grows various crops and transports them to other parts of the country or exports them to sell.  Using the money made they either expand their growing and trucking ability or invest in bus/ferry lines, radio/tv/newspapers around the nation, or tourist establishments.  These are how players get points.  I drew icons for the grown crops and the bus and ferry tokens, next week I'll show of the inked drawings.
Bus tokenFerry token

Cashews

Coffee beans

Corn

Cotton


Fish 
Rice

Sorghum

Tea

Tuesday, July 24, 2018

Throwback Tuesday

While I deal with shipping issues trying to get my Etsy crafting supplies I decided to post an older project from my school days.

My last two years at college I worked in the education department and one of my duties was promotional material.  Unfortunately, none of my stuff was ever published but I'll show you how I did it here.

The upcoming theme of the department was "Building Better Educators" so, as an architecture student, I took a different angle on the presentation.  I looked at their program as the levels of a building or the stages of building design.  I developed two designs, one using a building section drawing and one using more developed building drawings.

First, I started gathering my building drawings online.  I would use pieces of most of these in one design and the other design would be dominated by the tall section cut at the bottom.


To this I added some color filters to get that old "blueprint" look and some paper textures for realism.


Finally, I put all the pieces together and started working the layers.  The first poster was simple and consisted of one "sheet" of paper with one drawing on it showing a building section and the curriculum development.

The second drawing was much more complex.  YouTube was my friend here, and I looked up some tutorials on how to make each sheet of paper stand out on the poster.  I ended up digitally pulling the corners of the sheet up and making other sheets look rolled or curled so it ended up looking like a pile of architectural drawings, again demonstrating the curriculum development.  Both designs left space for more information on classes and internships that was never added.  I've hung on to these files and ideas in case I ever need them again, but so far they remain nothing but 1's and 0's on my computer.

Tuesday, July 10, 2018

Etsy, here I come! (Soon)

At the urging of my wonderful wife I am embarking on a new venture, this time it's an Etsy shop.  (what was I thinking?)

We were driving down the road one day when a funky train of thought led me to the idea "I could make a Lego lapel pin".  I voiced the idea and we talked about it and fleshed out the possibilities.  I'm now looking into several different pin ideas so keep your eyes peeled, just trying to work out supply issues before I start crafting.  Currently I'm planning several different lego designs, 4 (maybe more) meeple colors, international coins, board game tokens and coins, and Catan boats.  Here are some of my sale photos:


Monday, July 2, 2018

Big changes, and a new direction in life

Well, since I last posted on here I got engaged and married!  Yes, it's been a while.  But my wife is a creative spirit like myself and she encourages me and since we have a blog of our adventures together here I was inspired to try and get this off the ground again, so here goes. . .

As a re-re-reboot post I decided to show a little of the fun stuff we created together for our wedding and talk about how we made them.

 Here is the save-the-date we put together, it's based on something Rachel saw somewhere that we made our own.  She found a big pack of these library slips and we borrowed a typewriter (two, because one messed up) and typed out the text at the top.  Then, using different pens, filled in the dates and "borrowers name" sections with different hand writing.  Finally a Save the Date stamp and envelope finished it off and out they went.


 For our actual invitations and several other elements of the wedding itself Rachel wanted a watercolor monogram, but the internet proved to be too pricey, so we endeavored to make our own.  Rachel was already a talented watercolorist but she didn't want to try and do the whole thing in one piece.  The solution was she painted each element on it's own and I scanned the pieces into my computer.  Then, using Photoshop, I merged them all into one image.  For final touches Rachel looked over my shoulder and told me where everything needed to be and we tweaked everything together.  The benefit to working digitally is if she wanted something she hadn't painted I could use elements of things she had done and construct more pieces.  The finished result is below and I am staggered by what we made, it's just gorgeous and was exactly what Rachel wanted.
I wanted a cheese table for my grooms cake and my idea was to stack cheese rounds to look like a tiered cake.  But once again, buying it proved to be very pricey, so we made our own.  To do this I started with a foundation shape made of foam core board over which I layered plaster cloth to get the final shape. We then melted several blocks of candle wax in a big boiler and I alternated dunking the forms in the wax then in cold water then wax again until we got a decent looking coat of wax.  Here is the final product sitting on a wooden cheese case with a cheese ball on top.  I'm so ecstatic with how it ended up looking even though it was one long trial-and-error episode and we had to re-do a couple of steps in trying to figure it all out.


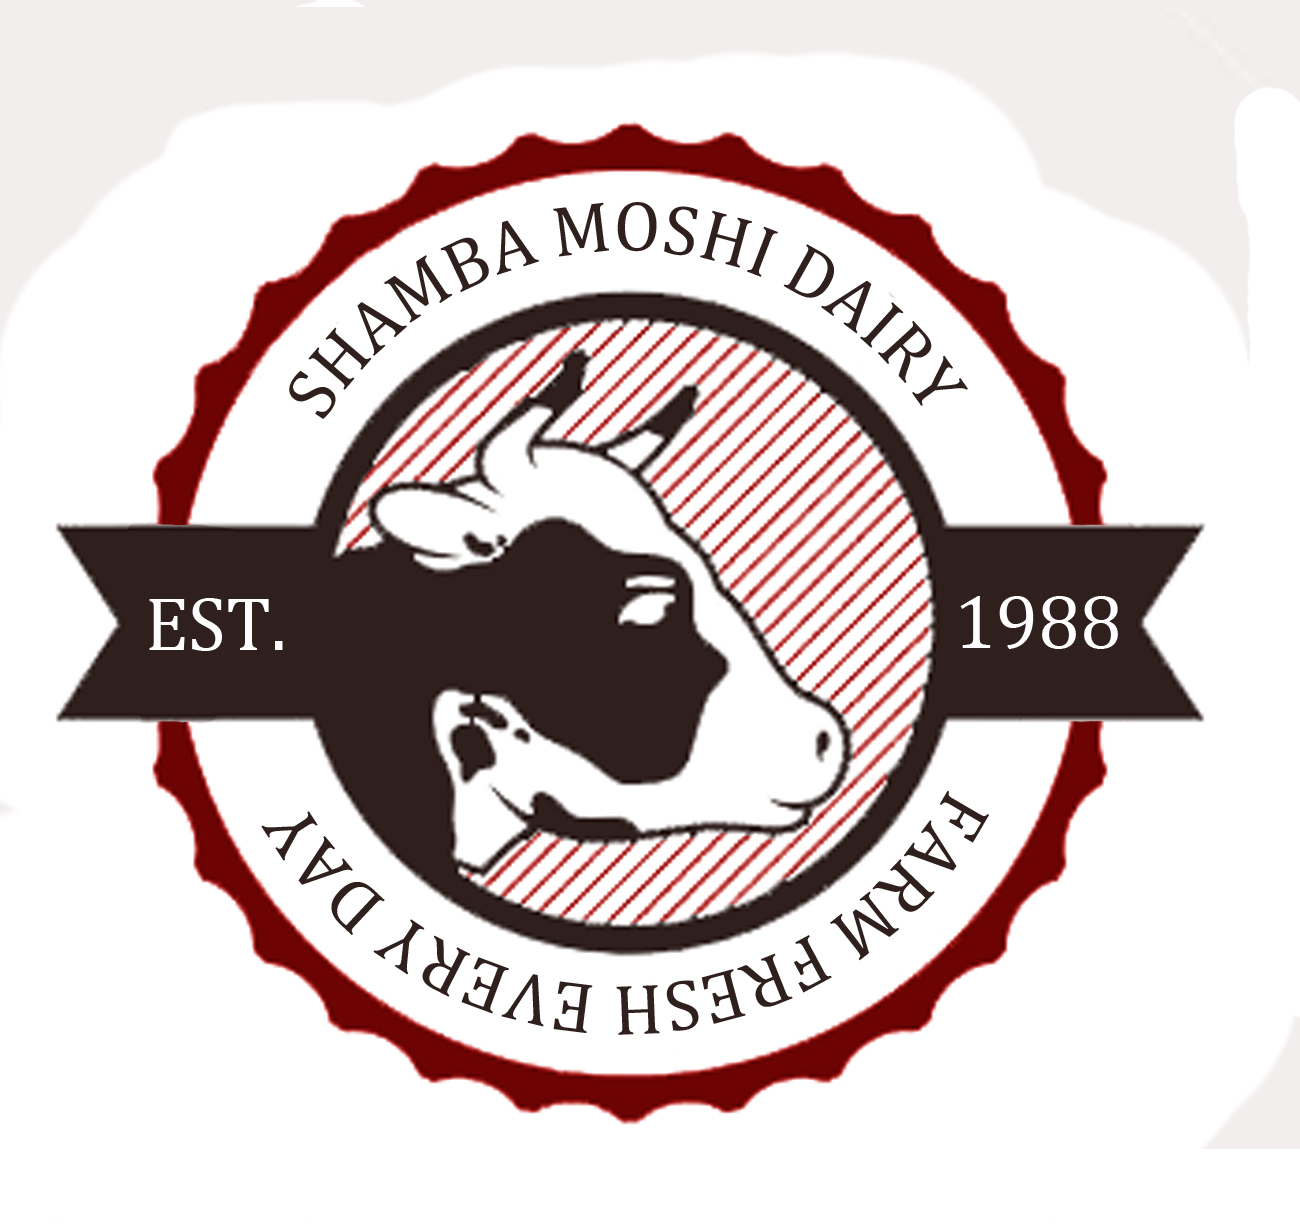
Now, about those labels.  Since I was making my own cheese I didn't want just any old label on there, so I made my own on Photoshop.  They are pretty basic but I put several Easter eggs in them.  The first one reads "Shamba Moshi" which is my name in kiswahili (sort of) and was established the year I was born.  The second has several.  Beside the fence you see a meeple (a common component in hobby board games), there are five dots in the shape of the pips of a die, the strange lines on the bottom are in a Star Wars script, the label is a hexagon (my favorite shape), and of course it's "Smoaked" gouda.