I knew that Revell Monogram had a splinter company called Revell of Germany for a few years but what I never considered was that Revell of Germany would have different kits than the American company. I was researching other kits on Amazon and I came across a bunch of kits by Revell of Germany, needless to say several of them ended up on my Amazon wish list. This kit, the Horten flying wing, was a kit I had seen built years ago but never found it. I went ahead and bought it to round out an order to get free shipping. This is the first airplane I have built with the intention of airbrushing it, I'm getting more adventurous since my recent success.
I started by joining wing halves then spraying all the external parts a base aircraft grey, this will act as both primer and camouflage color for the final paint scheme. Next I assembled the cockpit in the "fuselage" half, there wasn't much to do there and the canopy will obscure most of it but still a place for detailing. There are still some internal things to put together before the body halves go together but an initial test fit works well.
Saturday, November 23, 2013
Sunday, November 10, 2013
Playing with my airbrush
In the new hiatus from the F2001 (which I erroneously referred to as the F2000 last time, sorry) I have pulled out an old project. This Millennium Falcon model is an old MPC Ertle kit from '96. I built it not long after it came out but as a kid i put lots of love into it but not much skill. It was left in storage for years and got pulled out and taken apart a couple of years ago. It sat in a box until this week when I decided to throw some of my new-found airbrush techniques at it. This will therefor end up being one big experiment. First thing up was a light grey overspray to cover the old paint job next up the iconic weathering from the movie.
Sunday, November 3, 2013
Engine instal
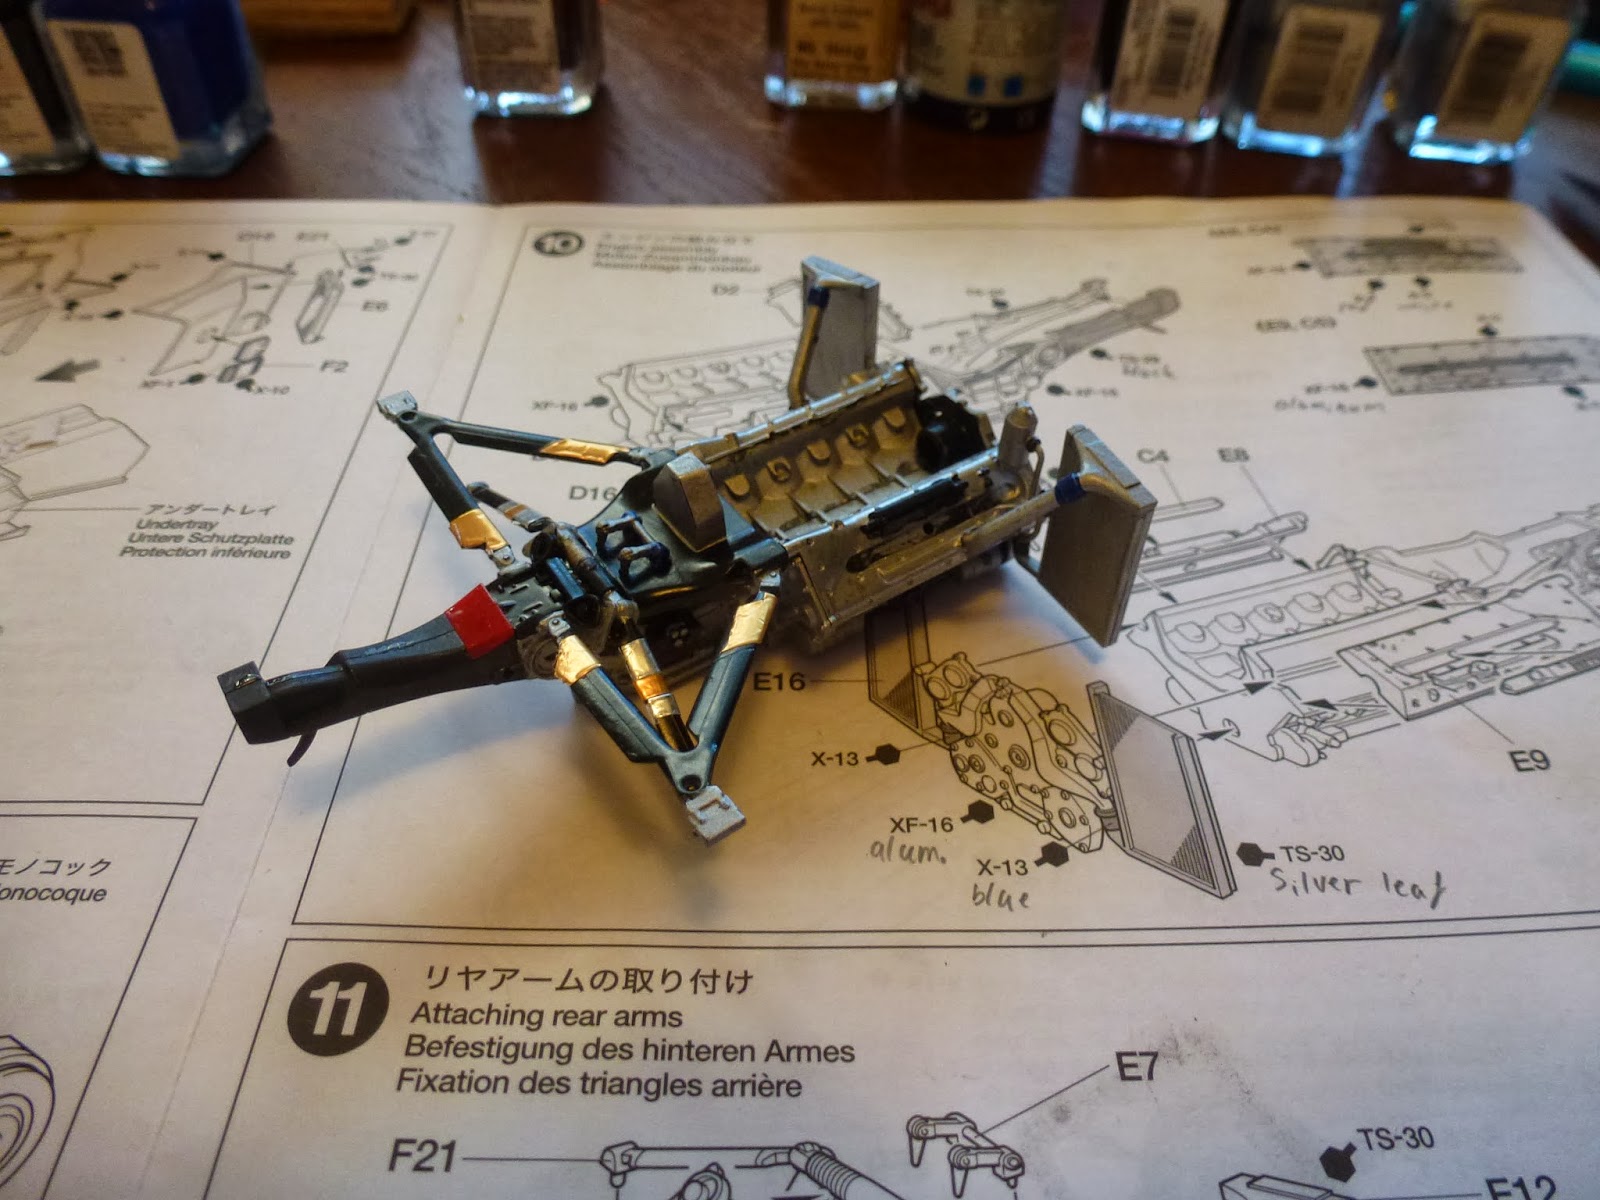
I've owned my airbrush for almost a year now and I have played with it some but I have not had consistent results. I had seen on that great warehouse of ideas, YouTube, how to "heat color" exhaust tips and decided to try the technique on the F2000 model. My logic was "if I mess it up all I have to do is paint it silver again and the mistake is gone." I started with an assembled and painted exhaust system and masked off the pipes up to the junction point. The first color I sprayed on was a light yellow, it went high up the pipe. Next went a pearl red that had to be cut with water, it went 2/3 as far as the yellow. Finally went on a metallic blue that also had to be cut with water and it was concentrated around the tip but went up as far as the yellow. The last two colors are made by Createx. After the colors dried I pulled of the tape and dabbed matte black inside the pipes. I am very pleased with the outcome and installed them on the engine which is now mounted to the car. And as my Humbrol gloss 19 is dead, I will have to stop until I get more in. Momentum = dead.
Pictures in order:
1) masked and ready to paint
2) left with yellow and red, right in the process of blue
3) finished with all three colors
The pipes on the engine
Where the F2000 will have to wait till I get more paint. Looks good though.
Saturday, November 2, 2013
F1 engine
Great news! I'm back to building the F1 car. After a long sabbatical to get squared away in school again I set up the work table and pulled out the model. As of now I have assembled the front suspension and gotten the front portion of the car mounted to the under-chassis. I am in the process of assembling the engine and rear suspension now. However I may hit another wall, the 8 year old Ferrari Red paint I have been using is dying. It has become so thick its like spreading silly putty, I may have to delay until I get some more off line. (It is Humbrol gloss #19 from England). This paint has served me so well though, I believe I have used it in nearly a dozen models including painting 4 full cars with it.
Subscribe to:
Posts (Atom)